Masala—Construction—5 |


|
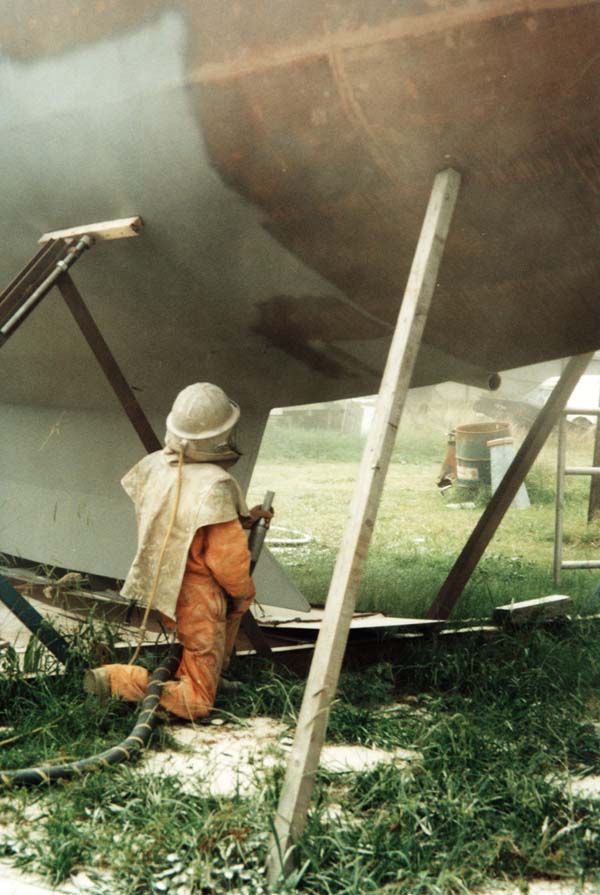
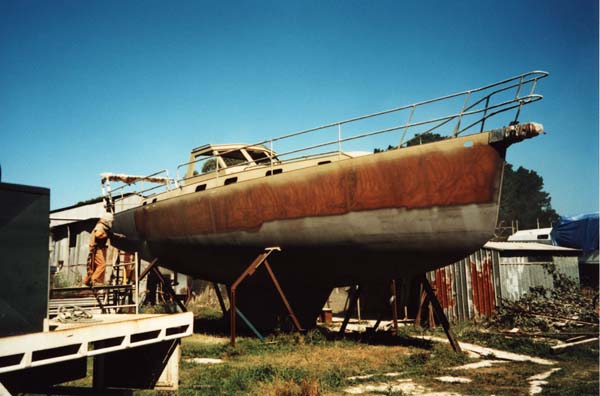
23, 24. SANDBLASTING THE HULL. Above. |
|
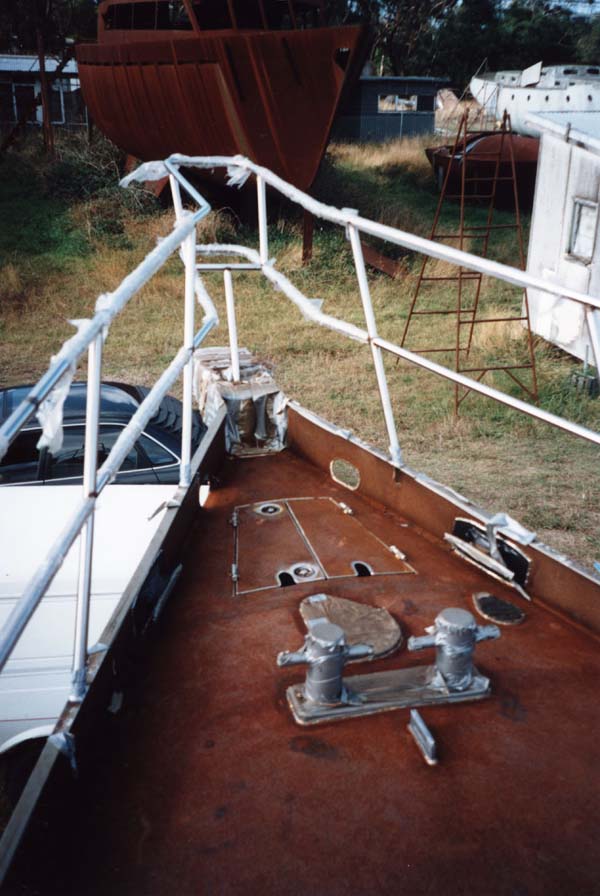
22. WELDED STAINLESS FITTINGS Left: massive hand-crafted stainless bollards are a boon to securing the vessel at anchor or on a mooring. Also visible are the anchor locker doors, the forward mooring cleats, the stainless base plate for the windlass and the chain plate for the inner forestay. All fittings are welded to the deck. Where mounting holes are required, rather than being through-drilled they are blind-drilled and tapped to eliminate leaks. Exceptions are the winches, which are through-bolted to prevent theft, given their high price. There are more than 200 blind tapped holes on the deck. It is time consuming to do this, but the only way to guarantee no leaks. All the cavities in the clutch pads and mainsheet traveller have been filled with foam to prevent water ingress and rust. |
|
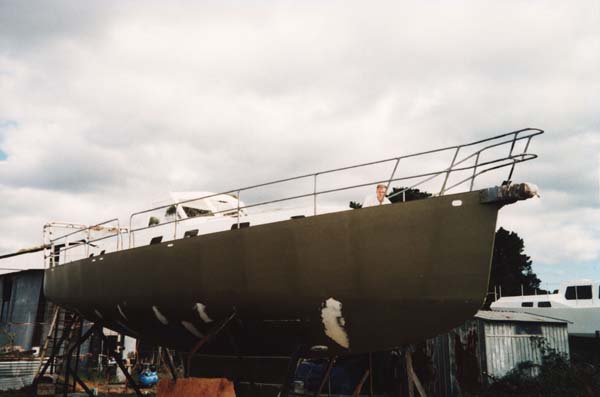
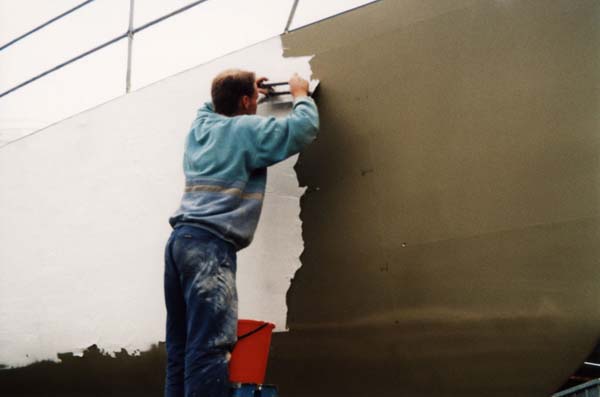
25. PRIMING THE HULL Left: after sandblasting, the hull has been sprayed with the specified thickness of two-pack epoxy Sigma EP Universal Primer (khaki-green). Below the waterline, the hull only needed spot fairing with Epoxy Fairing Compound (white) where minor irregularities exist. |
|
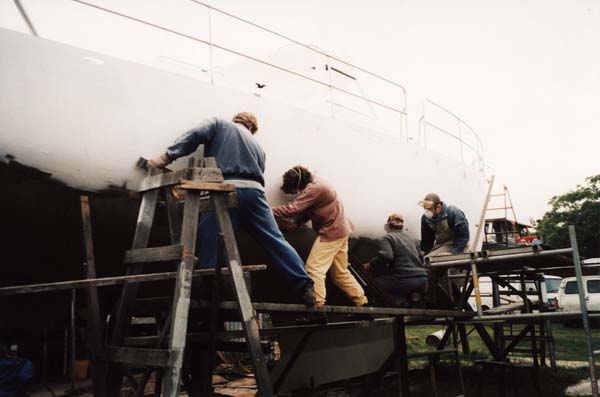
26, 27. FAIRING THE HULL ABOVE THE WATERLINE Above, left: to ensure a perfect finish, the hull is completely faired above the waterline using Epoxy Fairing Compound. It is applied by trowel. The stainless steel strip welded on top of the gunnels is being used as a fairing point. Above, right: “long boards”, otherwise known as “torture boards”, are being used to sand back the fairing compound to a smooth and even finish. Each board has four handles, allowing two people to work it. Sandpaper off a roll is cut to length and attached to the board by folding it over the ends and screwing on wooden blocks to hold it there. Sometimes it is necessary to apply contact adhesive as well. It is indeed a physically tortuous process. |